I am excited to start a new branch of my creative work, using a pen plotter to render my generative art. After months of research and consulting with well-respected artists, including Chris Bly and Jens Clarholm, I picked up an AxiDraw SE/A1 system from Evil Mad Scientist. The creative journey continues.
My genesis plotter print, CRUNCH, has its origin in the mile-high generative art club. I composed the original algorithm from the limited confines of an airplane. During the flight, I slipped in and out of consciousness as I edited and perfected my code. I would drift off to sleep, only to wake up minutes later with fresh ideas and lines of code to add to the work in progress. The creative energy flowed as I channeled my dreams into this project. By the end of the flight, I had completed a new geometric abstract artwork. The AxiDraw was assembled in the studio back home, ready for its first test.
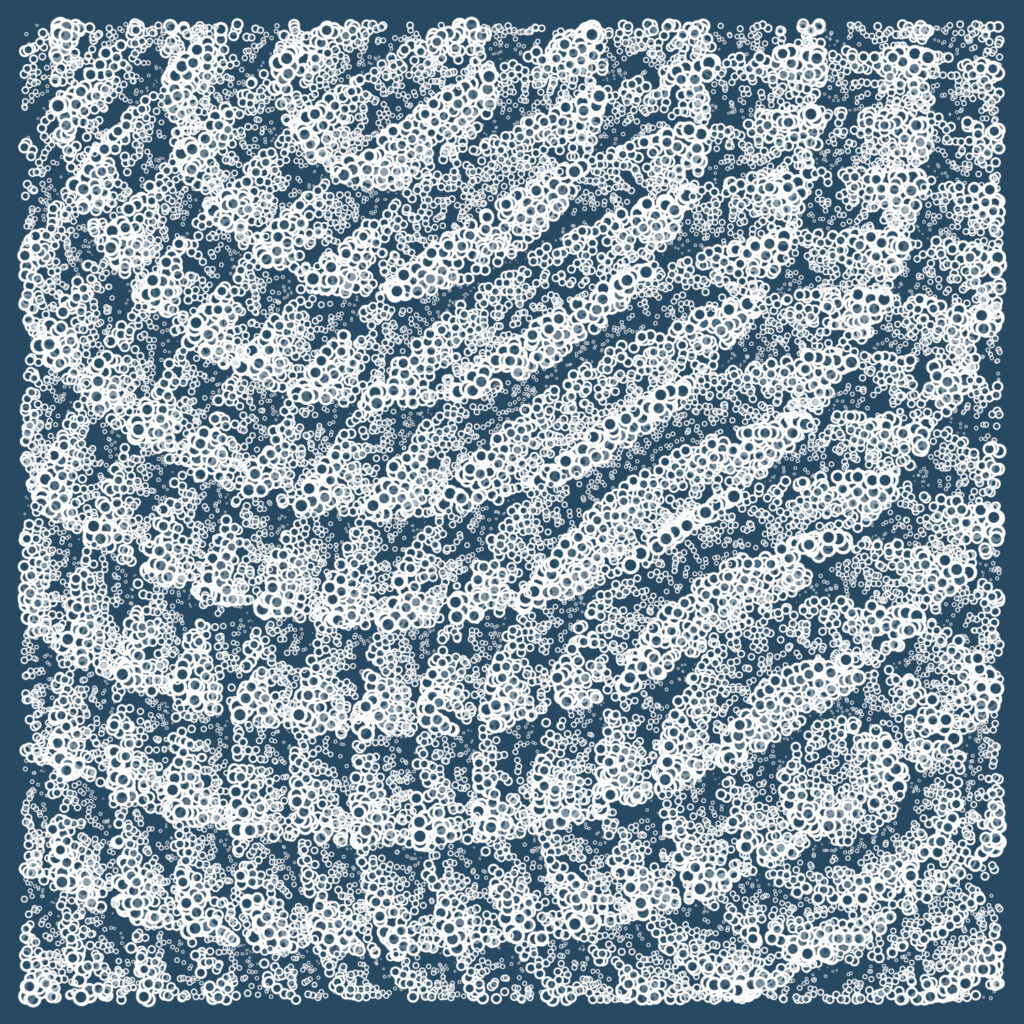
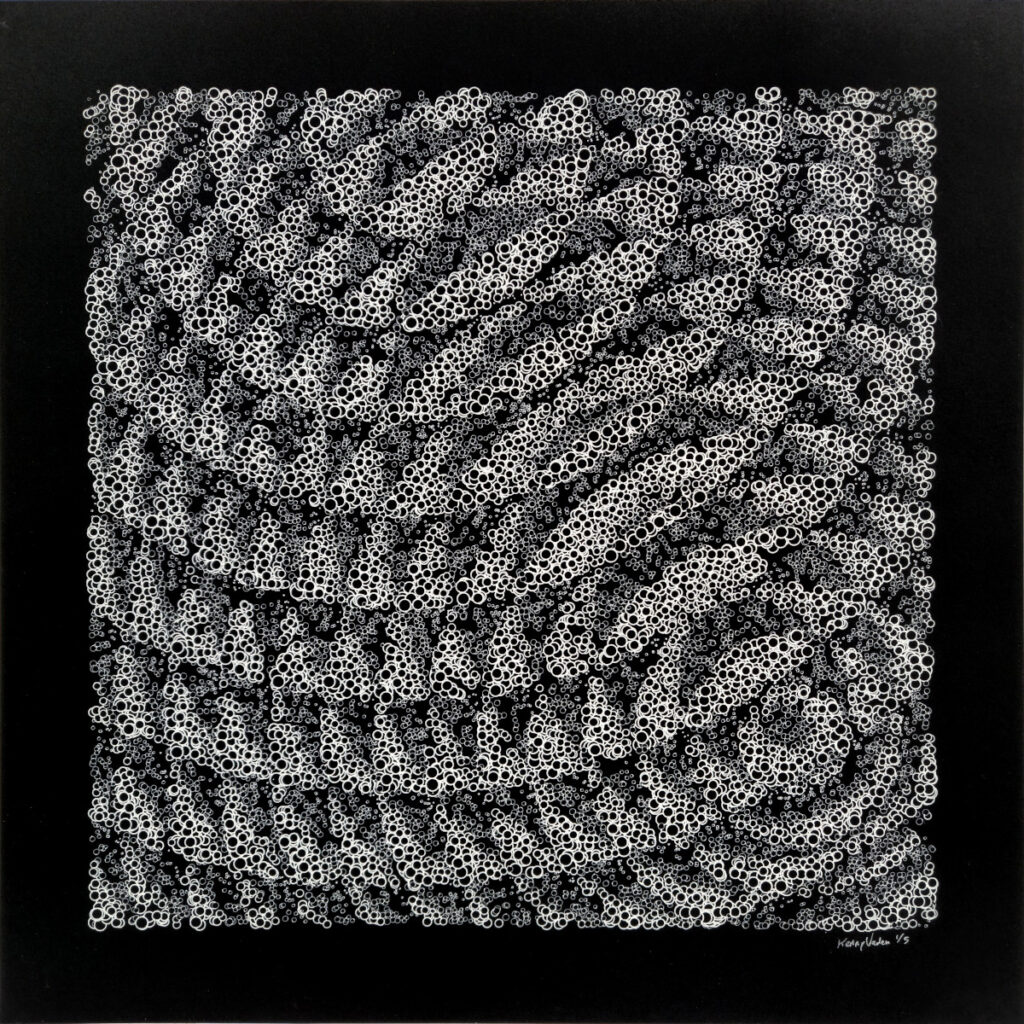
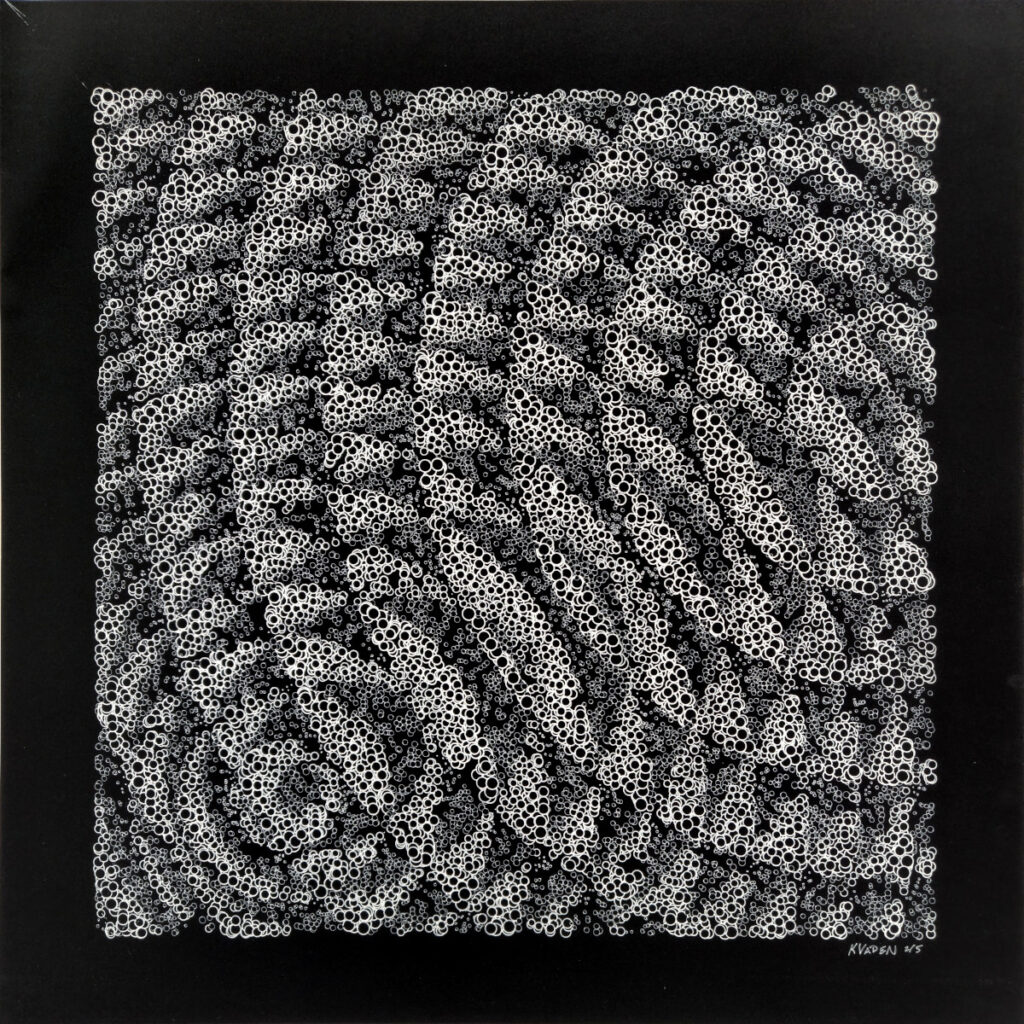
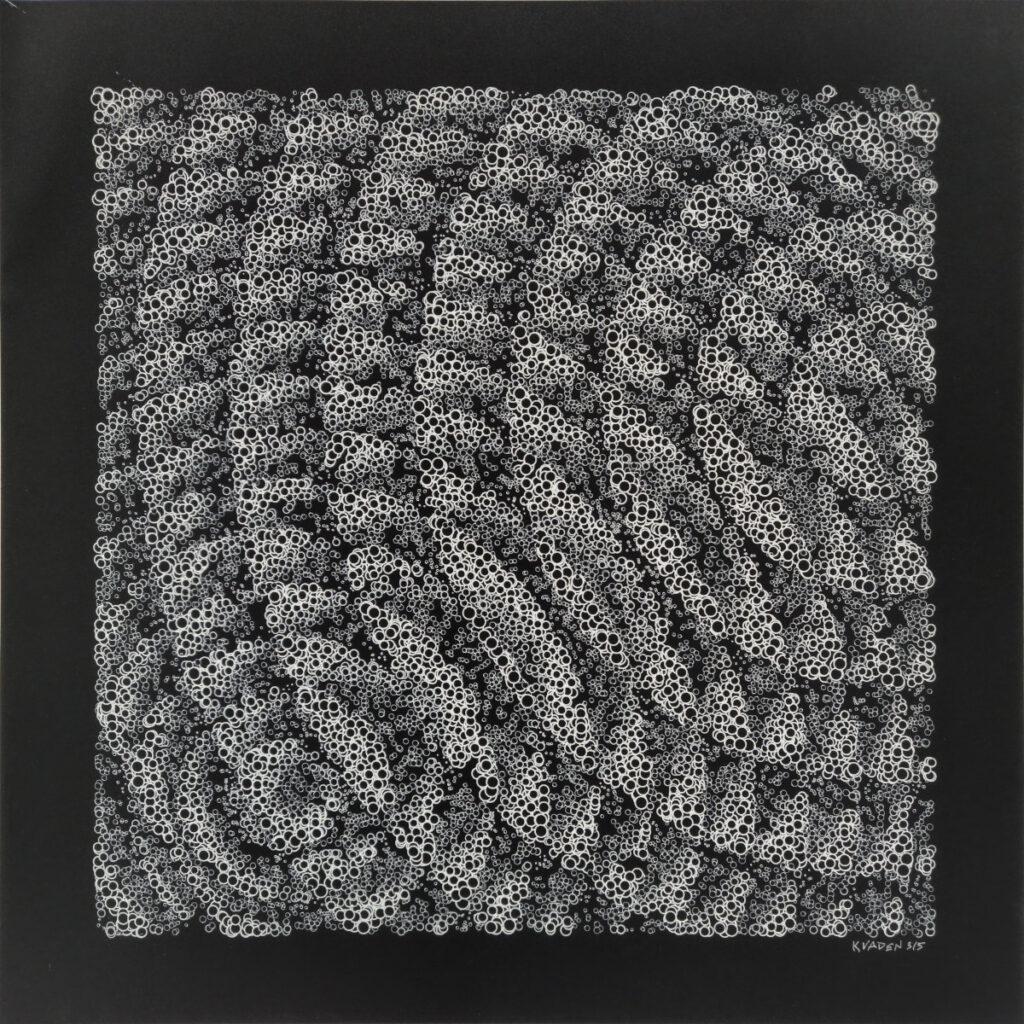
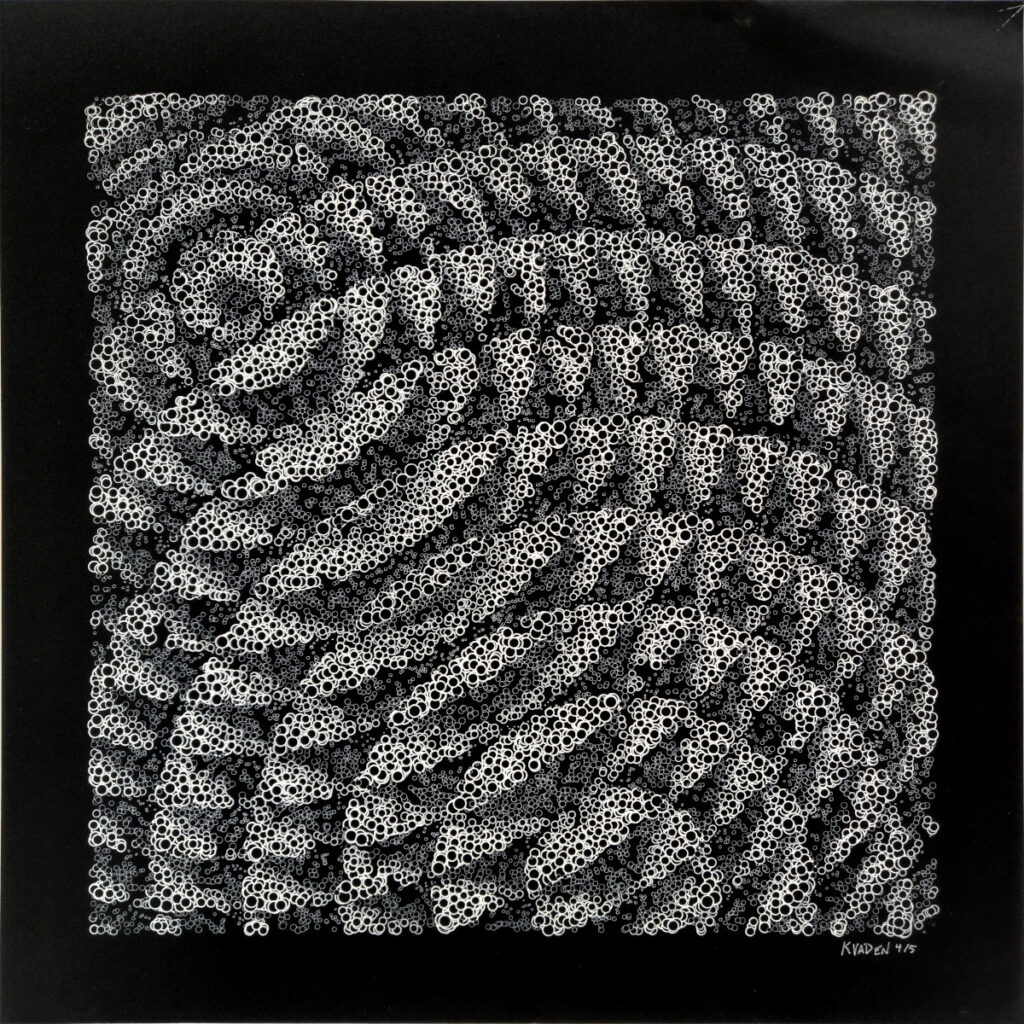
The original digital artwork used a distance-modulation function to set circle sizes based on their distance to two origin points. In principle, the concept driving the variation in this piece is similar to a signed distance function. However, modulo only uses the remainder after dividing the distance by a constant number, meaning that the sizes gradually ramp up in size, then return to some base size again, going outward from the center of a circle. Interference patterns resulted from averaging modulation-distance function outputs from two center points, creating interesting cross-ripples and waves.
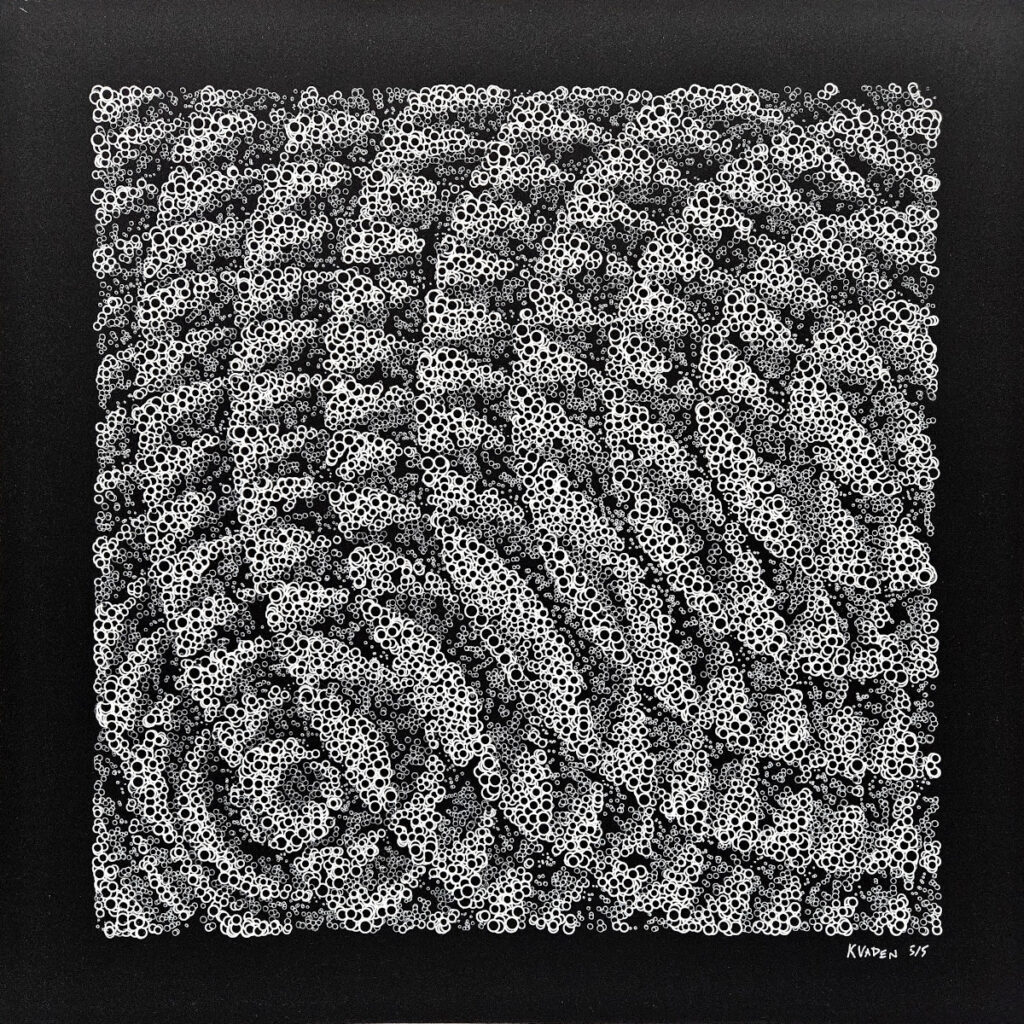
In contrast with the digital version, which used a normal distribution to create a variety of line widths, the pen plotter can only drag a pen around on paper that has a single width. To deal with this limitation, I adapted the R code to draw the largest circles in layer one, medium circles in layer two, and the smallest circles in layer three. Three white ink pens with different widths were used (Sakura Gelly Roll #10, #08, #05), one for each layer to create stronger contrasts in the print. The black paper was purchased locally, Arnhem 1618, which is a high-quality, 100% rag, acid-free printmaking paper.
By default, I learned that InkScape draws each circle in its entirety, even when it is partially occluded by circles drawn atop of them in the Support Vector Graphic (SVG) file. The first attempt was abruptly stopped when all the circles were shown without occlusion, in other words they appeared as overlapping rings. I found some useful blogs regarding the topic of polygon clipping, then modified my code to remove any coordinates in any circle that overlapped circles drawn over them, retracing each line from its first unhidden point. (The R libraries polyclip and sf look promising for more complex clipping situations, but this approach was easy to implement and sufficient for circles. May 25, 2023 – update: AxiDraw recently updated their software with a non-default option that can address polygon clipping!)
Although I saw some areas that needed improvements, I had to take a victory lap online after I finished version one of the pen plotter adaptation of CRUNCH. The use of different pens allowed the texture to really emerge in a cool way. However, a closer inspection of the first test print showed that the lines crossed at incorrect points, indicating that the thousands of tiny swirling pen movements had actually shifted the AxiDraw, clipboard, and/or paper. This issue was solved with a power drill. I drilled the table and screwed down the machine and clipboard, then lined the outer edges of the paper with low-tack artist tape.
Version two, layer one was nearly a disaster. First, the pen caught the top edge of the paper and ripped it. Next, the # 10 pen ran out of ink halfway through another print. Next, Windows powered off the laptop for an automatic update. When I finally completed a two-hour print without problems, I accidentally discovered that retracing a large number of the circles 2-3 times created a much stronger contrast with the black page! Coincidentally, the strongest contrast emerged for the thickest lines and largest circles in layer one – which would benefit the contrast of the final piece. Note: This is not a totally original discovery, since then I have found numerous blogs and vlogs that mention retracing white lines on black paper. In the finalized prints, numbered 1-5, the thickest lines and medium lines were drawn twice, and the thinnest lines were drawn once.
The final prints are signed and numbered, available in the online shop, and will ship directly from the artist studio. The photos were collected before securely storing each edition (1-5) in a flat file cabinet.